
Yes, this is a story of love, and also a story of the sometimes unpleasantly surprising elements of a recipe. Eventually, this is a story of redemption.
You see, at our Winter Farmer's Market, Sparky had discovered Sweet Collective's Ruth and Phil's ice cream - so, along with our popcorn and hardneck garlic, we came home with a pint of delectable blueberry cheesecake ice cream, which tasted just like it sounds. Mmm.
Once we were home reviewing our treasures, Sparky exclaimed, rather pointedly, "Ice cream this good deserves an ice cream cone!" Of course I didn't have any in the house and wasn't about to go get them. Given this knowledge, the love of my life fixed me with his soft baby browns and purred, "Mom, can't we make ice cream cones?"
Well, what's a girl gonna do: I've tried to teach him the value of six impossible things before breakfast and here we were, well past lunch. Ice cream cones didn't seem like a lot to ask. I headed to the internets, found many a recipe, but settled on Joy of Baking's crepe- like cones, because I can make crepes, right? Little did I know what it would take to live up to the expectation in those oh-so-deep brown eyes...
Ice Cream Cones:
ingredients
2 eggs
1/2 cup vanilla sugar
4 tbsp butter
2 - 3 tbsp milk
1/3 cup flour
1/8 teaspoon salt
Cooking spray
equipment:
Blender
Nonstick skillet
Clean work surface
Aluminum foil
Every spatula you own, and maybe a pair of tongs. Acme Batter Repellent. Zero gravity time on the Space Shuttle. Heat-deflecting vision. (OK, maybe not the last two or three.)
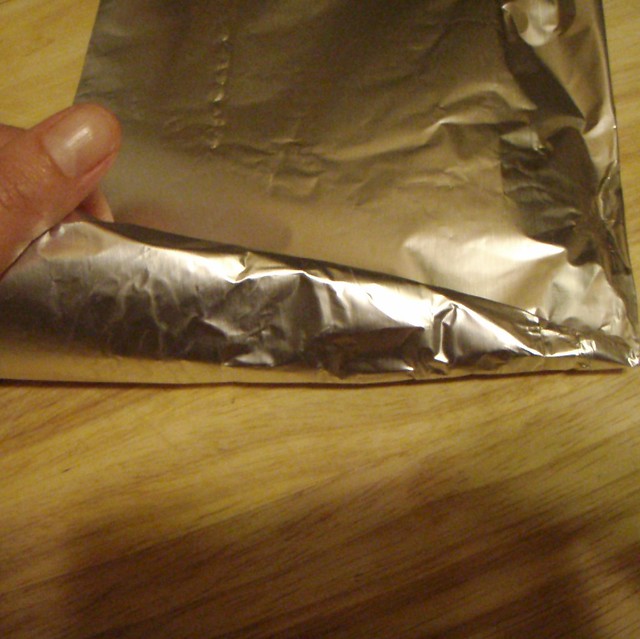 Form your aluminum foil into a thick cone shape - this will be your mold.
Once I realized these were basically sugary crepes, I didn't follow any of the excellent directions at the Joy of Baking site: I just dumped all the ingredients except the cooking spray into the blender and blended them smooth. If the batter isn't thin enough to drizzle, add a bit more milk - I did fine with 2 tbsp.
 Now, for the slightly more challenging part; sorry, even after going back to the original recipe for help, I realized that while the batter may make 8-10 cones, you need to be prepared to eat only 4-5. I wouldn't recommend doubling the recipe, either.
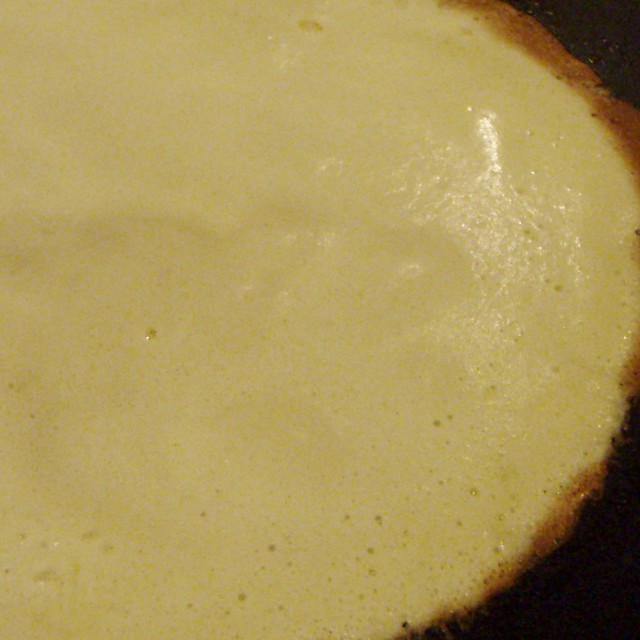
 Lightly heat your nonstick skillet to the point where a drop of water will fizzle, and spray it with cooking spray. Over medium heat, pour about a 1/4 cup of batter in a thin stream into the middle of your pan, and then immediately begin slowly rotating the pan like a gyroscope so the batter floods out into a widening circle. When you've got a diameter of about 4" or so, set the pan on the heat and turn it down to low. Allow the crepe to cook until it's quite firm in the middle; it will bubble up if you're doing it right - the edges should look golden brown.
 Now comes the tricky part - you now have a pancake the texture of a wet popped balloon, but at a searingly high temperature (sugar gets very, very hot.) Thinking only of cute brown eyes, slip whatever spatula works best (I had to try three or four different ones) under the pancake to make sure it's well loosened. Take a deep breath.
Get your spatula under that thing, and get ready to turn...I found that I had to hold the flopping sides open with my fingertips - which HURT. I tried tongs, but wasn't as successful as I was with third-degree-burnt fingers. Don't forget: these are lightly sticky as well (maybe use one of those giant pancake spatulas if you have one?) Flip that puppy over and straighten it out as best you can, repairing any nasty cracks with a light drizzle of batter. Blot tears or sweat so they don't get in your way. I ruined my first three or four; keep in mind there's a learning curve here, and don't give up. Think cute brown eyes, brown eyes. BROWN.
When the second side is done, a minute or so later, loosen again with the spatula. After ruining a few more on the way out of the pan, I finally figured out that the best way to deal with them was to just flip my whole pan upside-down onto my work surface with a good "whack" that shocked the dog out of a sound sleep.
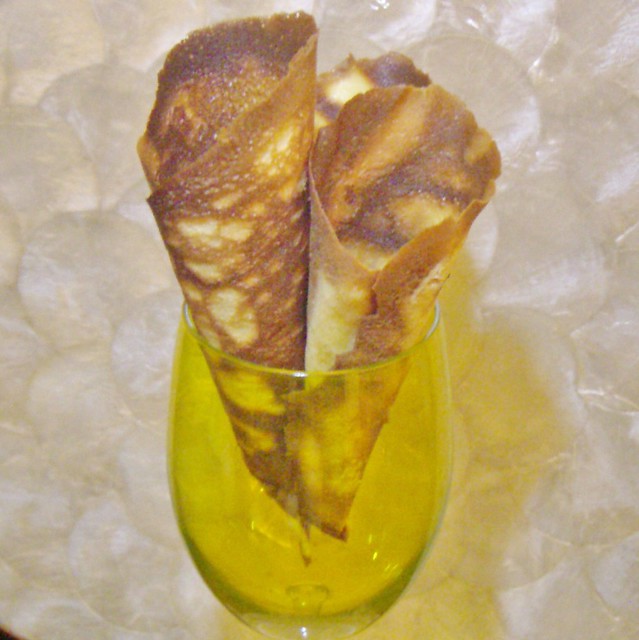
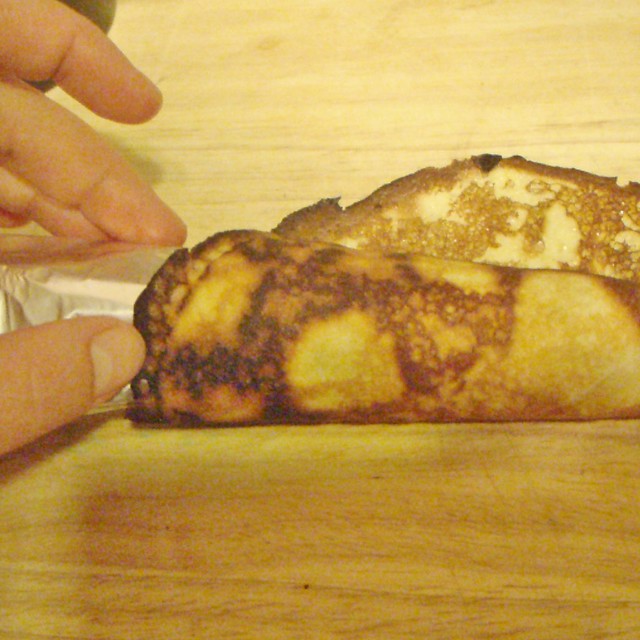 Quickly, burning your fingers even more in the process, wrap your scalding-hot crepe around the aluminum-foil cone, pinching it carefully at the bottom as you fold it over and roll it. It will cool as you make the next one...if your resolve holds out to cook more, that is. Give it about a minute, at least.
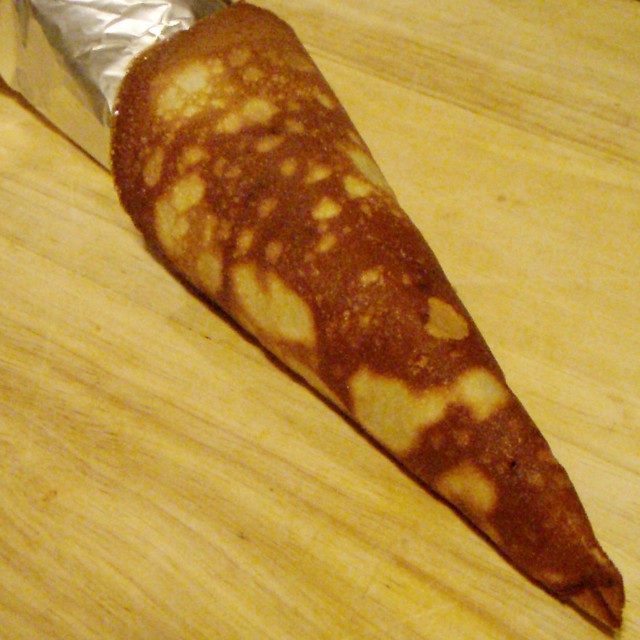

Consider it a win.


No comments:
Post a Comment