I'd realized two things early on in our early bread-baking forays: 1) I love white-flour crusty breads so much that if we ate them at every meal, I was going to need all new pants, and 2) the most expensive part of baking bread is the yeast, and we were running through it like it was water, especially using the recipe I posted last week. While I was fortunate to have a neighbor - who does everything from scratch (including grinding his own grain) - to beg starter from, making homemade starter isn't that difficult. It's better to start with whole grains, the beasties seem to like them better - and easiest if you start with a bit of yeast, though even easier to buy a fully-started sourdough starter via mail.
So, Sparky's bit in this recipe is caring for this new living pet. Live yeast requires care and feeding and maybe even a bit of love - so Sparky promptly christened our starter and watched it grow and bubble and eat. Bobs, while he are growing, lives on the counter in a Tupperware. I've found that Atta flour is a great help in addressing the white-flour issues listed above - so when we are re-starting, Bobs gets fed a couple spoonfuls of Atta flour, along with enough warm water to make him soupy and this amount is doubled every day until we have slightly more than a cupful of Bobs. The simplest way to do this is add the water and flour, tightly close the lid, shake until it's completely combined, and then uncover (remember, the little guys need to breathe!) Between breads, the remaining bit is fed some flour and water, and sits on the counter while we're making bread - and then goes to live, lightly covered, in the fridge for up to a week or so. I'm told that if you're planning a long vacation, you can freeze your starter...I'm still waiting for that long vacation to happen, though!
Most breadmakers are real bakers, who measure everything to the quarter-gram - but I wanted Sparky to know that I think it's really a much more visceral operation: you need to know what a dough looks like, feels like, and acts like. Once we have a cupful of nicely frothy starter, I dump that into my Kitchenaid mixer and start throwing in flour, usually a combination of Atta or Chapati flour, white flour, and a bit of vital wheat gluten (like around 2 tbsp) and a bit of salt (you won't need as much as with conventional bread, the starter gives a lot of flavor; I usually add 1/2 tsp per loaf) either until it absorbs all the liquid from the starter, or I'll add water as well until I have the volume of dough I want (you can approximate by remembering that bread doubles in size - and the dough is just as freezable as the starter.) When the dough has reached the texture I like - not too sticky, not crumbly-dry but holding together well, we allow the Kitchenaid to knead it for a minimum of ten minutes. You can change the dough by adding either water or flour at this point - here are some examples:
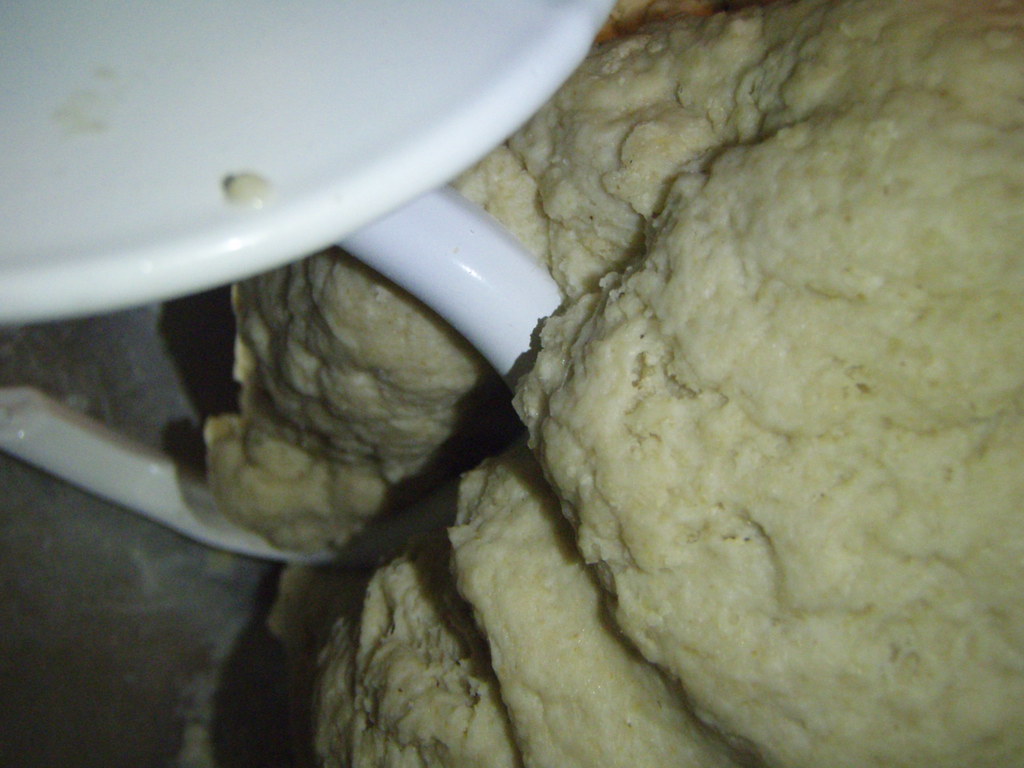
Needs water:
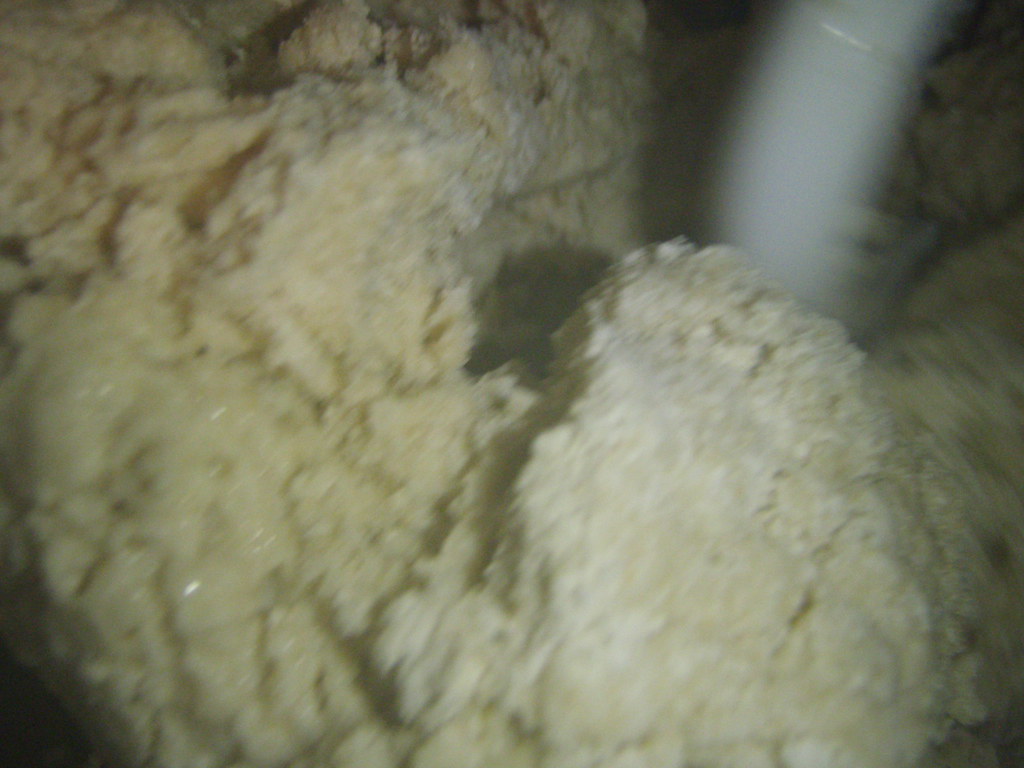
Needs flour (sorry the photo is blurry, but note the solidly wet part underneath. At this point, I'd let it mix to make sure the dry part is completely absorbed, but I'd guess it will still come out too wet)
Lookin' good! The texture of the dough is what's most important; it should come together in a nice ball as shown:
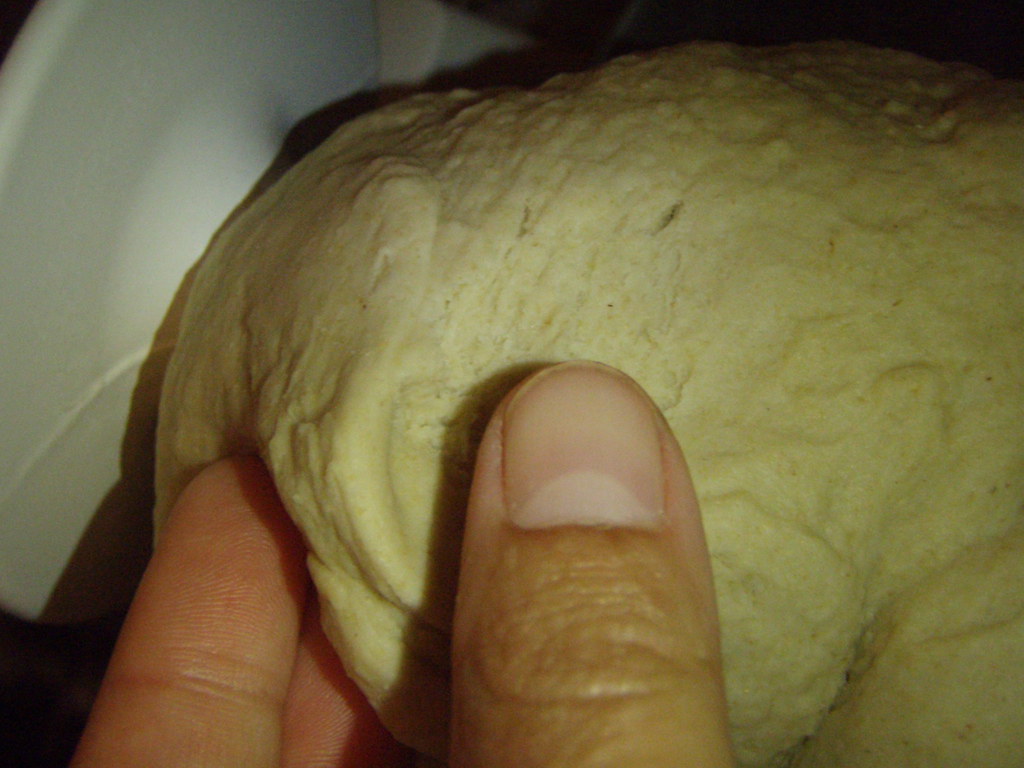
After ten minutes of kneading, the dough will get almost shiny and smooth, and you'll be able to pinch it between your fingers without it wanting to stick to you - and when you pull it a bit it will spring back a bit:
Then you dump the dough into a bowl and cover it with a damp cloth. Sourdough usually takes all day to rise, about 8 hours - although many people like to put it in the fridge and allow it to rise slowly for up to 24 (this will result in a more sour bread) I like putting mine in a bowl with measurements, because it's ready to be shaped when it doubles in size.
After that point, you divide and shape the dough as directed in last week's recipe, allowing it to rise (again, it takes longer with a starter - give yourself a couple hours) until it is doubled in volume again - word to the wise: breads whose final rise is too short will "blow out" the side and won't retain their shape - but they eat just as well! Shape your bread (pull the outside around into the bottom, pinching the excess together until you have a nice round shape. Put on a prepared baking sheet, and cut a few expansion slits in the top.) I usually do this second rise over a bit of cornmeal on the sheet I'll be baking them on - be generous with the cornmeal, or your bread will stick (cornmeal over parchment paper is even better)
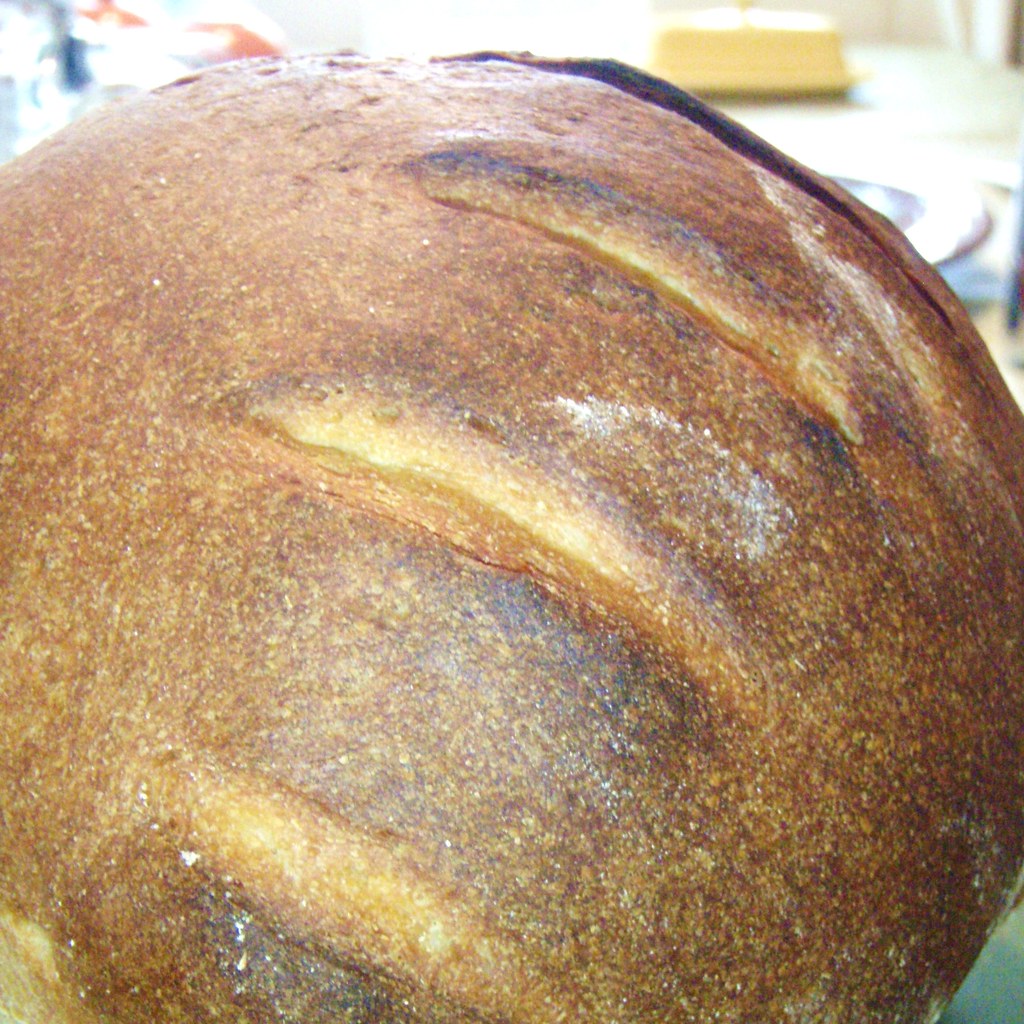
While your bread is rising, you can prepare your oven: you'll need two racks: the upper one is where the bread will go, and should be near the top of the oven - but not so close that your bread is in danger of touching it when it rises. The second should be near the bottom, and put in a metal pan (I use the bottom of an old broiling pan) filled with water. Preheat your oven to 450, and when it's up to temperature and your bread is ready, throw it in there for about half an hour. You should be rewarded with a lovely, crusty loaf like this:


No comments:
Post a Comment